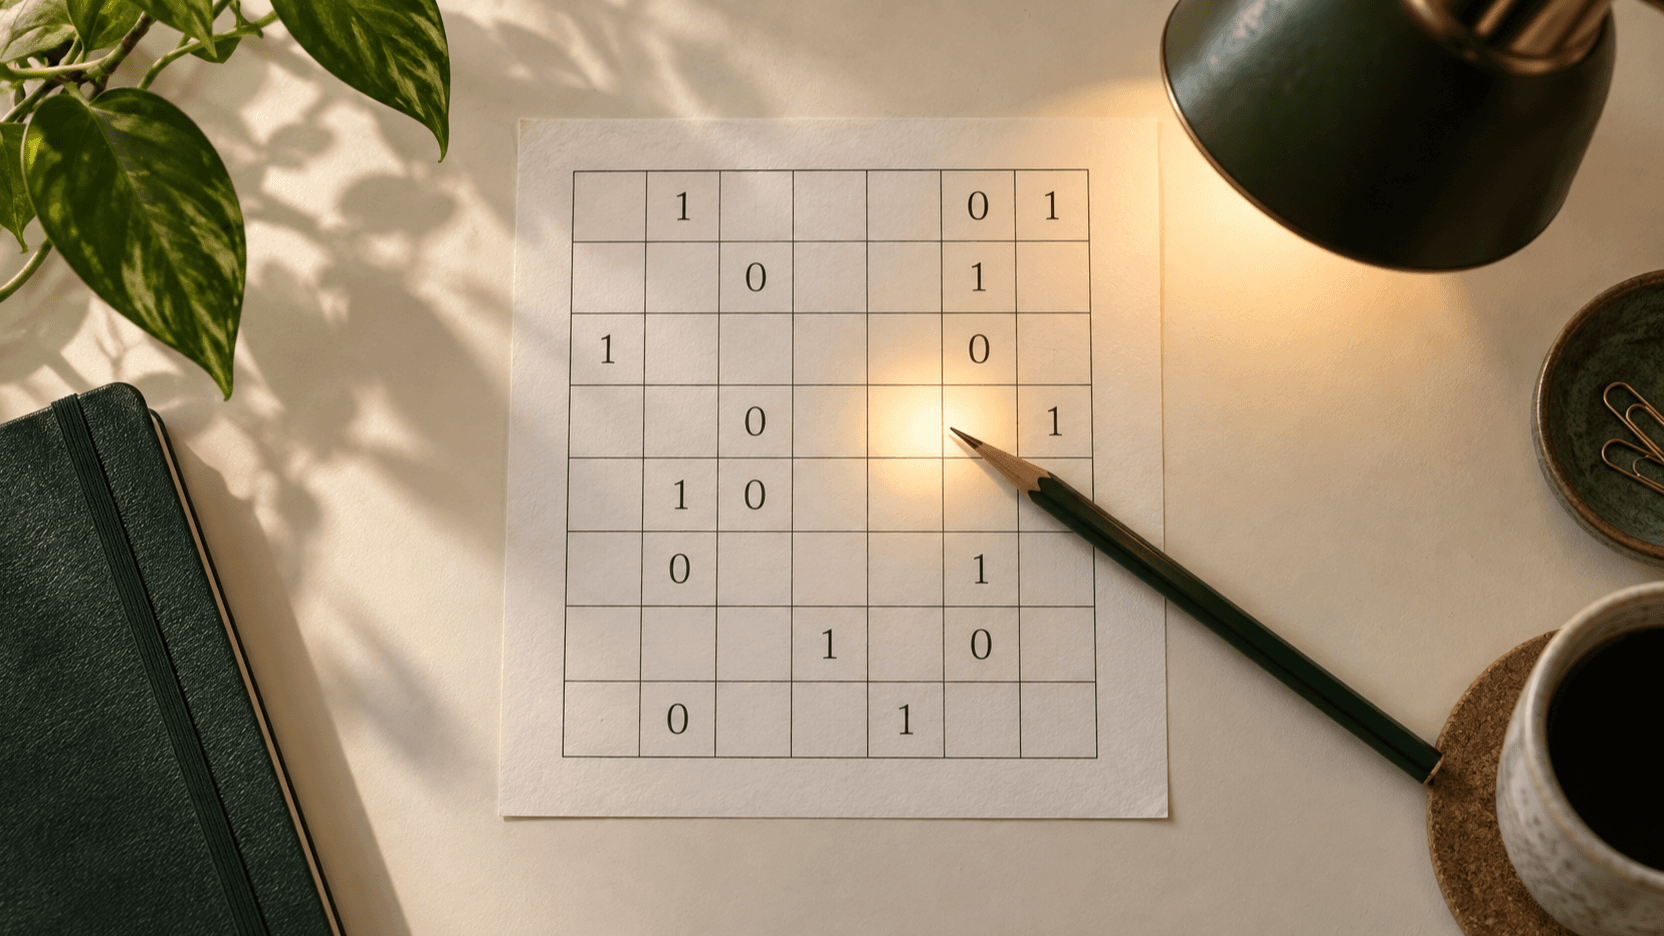
Quick summary: one move, one rule, no full reveal
A good Binary Puzzle hint should narrow your attention without taking over the board. On this site, selecting Hint focuses one forced cell, identifies the logic rule that supports it, and explains why that value belongs there. The grid does not change until you choose Place, so you can use the message as a small lesson instead of a shortcut.
If you place every suggestion immediately, you may finish the grid without recognizing the pattern that would have opened the next line. Read the proof, recreate it, and inspect the crossing line first. The same hint then improves your next scan.
Use a four-step routine before you press Place
First, read the title and explanation without pressing Place. The title tells you what evidence to find; the suggested digit is the conclusion, not the lesson.
Second, cover the suggested cell with your finger or look away from it. Scan the related row or column until you can identify the same evidence: a pair, a completed count, or a common value across valid line patterns.
Third, inspect the crossing line, then decide whether you can state the reason yourself. If yes, press Place. If not, leave the hint open, reread the rule guide, and return after one more scan.
Read the five Hint messages as proofs, not answers
The Hint control looks for one human-readable deduction at a time. Its messages follow a useful order: no-three evidence, balance, valid line patterns, uniqueness, then a deeper alternative check. That sequence also makes a practical scan order.
Break the run of three means two matching values and one blank share a three-cell window. The blank must be the opposite value, whether the pair is side by side or separated by the gap. Scan outward after filling it, because the move can create another forced window.
Complete the balance means a line already contains all the 0s or all the 1s it can use. On a 6x6 line, three of one value settles every remaining blank as the other. Count the whole line, not only nearby cells.
Compare the valid line patterns appears when neither a pair nor a count decides the cell. If every legal completion puts the same digit in one position, that position is forced even though the broader line still has options.
Keep every line unique prevents a partly filled line from copying a completed line in the same direction. Rule out the alternative is deeper: one value leaves no valid completion, so the other remains. Understand the failed alternative before moving on.
Rebuild the proof on a small line before taking the hint
Use a tiny line example to practise the habit. Imagine a 6x6 row whose first three cells are 0, 0, and blank. The hint may point to the blank and suggest 1. You do not need to know anything about the rest of the board to justify it: another 0 would create three adjacent 0s. That is a no-three proof.
Then look down its column. The new 1 may create an adjacent pair or complete the count there. A hint is not an isolated answer; it is an invitation to find the next evidence in the other direction.
0 0 _0 0 1The blank cannot be 0 because 0 0 0 is forbidden. Then check the column that receives the 1 before continuing.
Use each hint to find the gap in your own scan
After a hint, ask which scan you skipped. A no-three hint usually means you passed over a pair or sandwich. A balance hint means you missed a nearly complete line. A pattern or uniqueness hint means you moved on before comparing plausible full lines.
Write a simple sequence if you lose your place: pairs and sandwiches, completed counts, valid line patterns, uniqueness, then an alternative check. Scan all rows for one rule family, then all columns. After each move, inspect the crossing line and resume the pass.
If the proof still feels opaque, practise it on a 6x6 board. Its three-of-each balance limit is easy to see. Return to the larger board once you can predict two or three hints in a row.
Know when to apply a hint and when to leave it as a note
Apply the hint when you can say why the named rule applies to those visible cells. You do not need formal terminology, but you should be able to point to the pair, quota, candidate line, or blocked duplicate.
Leave it unplaced when you recognize the answer but not the proof. Reread the explanation, compare both directions, then make one independent pass elsewhere. This also works on a Takuzu or Binairo board with the standard three rules: the label may change, but a valid deduction still has to survive both directions.
A hint is not recovery after a conflict. If Check has found a broken rule, fix the unsupported move first.
Do Binary Puzzle hints fill the cell immediately?
No. Hint selects a suggested cell and displays the value with an explanation. The board changes only when you choose Place. That lets you test the reasoning first and use the suggestion as a low-spoiler prompt.
Is a Takuzu hint or Binairo hint different?
Not if the board uses the standard equal-count, no-three, and unique-line rules. Read the puzzle's own rule panel first, because publishers can present symbols and help controls differently. Once the rule set matches, the same proof routine applies: identify the evidence, check both directions, then place only the forced value.
What should I do when a Binary Puzzle hint still makes no sense?
Do not immediately ask for another one. Return to the exact row or column named by the message and test the stated rule with a small line example. If the board contains a conflict, use Check and undo the first unsupported move before continuing. A clean local proof is more useful than several unexplained placements.
Turn Binary Puzzle hints into a solving skill
The best Binary Puzzle hints point to one forced move while leaving the rest of the grid for you to discover. Read the proof, recreate it, inspect the crossing line, and apply the value only when you can explain it. Over time, that routine turns the Hint button into a map of what to scan next.